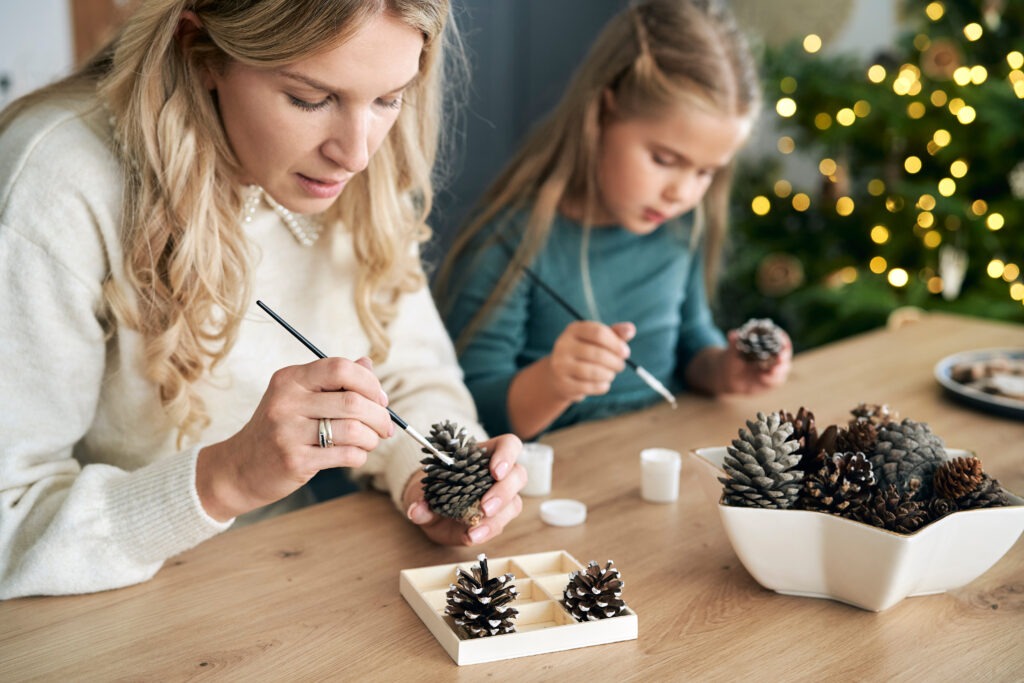
Decking the halls for the holiday season is a beloved tradition for many, but purchasing decorations can quickly become pricey. That’s why we at Upper Ivy Apartments have created the ultimate guide to DIY Christmas decorations, filled with expert tips and step-by-step instructions. Whether you’re a seasoned DIY enthusiast or a beginner looking to add a personal touch to your holiday décor, this guide has something for everyone. From creating your own unique DIY Christmas tree using unexpected materials to designing your very own ugly Christmas sweater, and even crafting a DIY wooden Christmas tree, we’ve got you covered. Get ready to transform your living space into a festive wonderland without breaking the bank.

The Benefits Of DIY Christmas Decorations
There are many benefits to creating your own Christmas decorations. Firstly, it allows you to save money. With store-bought decorations becoming increasingly expensive, DIY alternatives can be a budget-friendly option for those looking to add some holiday cheer to their homes without breaking the bank.
Secondly, DIY decorations give you the opportunity to add a personal touch to your holiday décor. By using your creative skills and imagination, you can design unique pieces that reflect your personality and style. Whether it’s hand-painted ornaments or custom-made wreaths, DIY decorations can truly showcase your individuality.
Lastly, crafting your own Christmas decorations can be a fun and fulfilling experience. It provides a sense of accomplishment and allows you to spend quality time with loved ones. Gather your family and friends for a crafting session and enjoy creating memories that will last a lifetime.

Planning Your DIY Project: Expert Tips And Tricks
Now that you understand the benefits of creating your own Christmas decorations, it’s time to dive into the planning process. Planning your DIY project is crucial for a successful outcome, and in this section, we’ll share some expert tips and tricks to help you get started.
1. Set a budget: Determine how much you’re willing to spend on materials and stick to it. This will help you prioritize your projects and ensure you don’t overspend.
2. Choose a theme: Decide on a theme or color scheme for your decorations. This will give your home a cohesive look and make your DIY creations even more visually appealing.
3. Make a list: Create a list of the decorations you want to make, along with the materials needed for each project. This will help you stay organized and ensure you have everything you need before you begin.
4. Research and gather inspiration: Spend some time browsing through magazines, websites, and social media platforms to gather inspiration for your DIY projects. Save images and ideas that catch your eye and use them as a reference as you start creating.

Step-by-step Instructions For Creating Homemade Ornaments
In this section, we’ll provide you with step-by-step instructions for creating homemade ornaments. Making your own ornaments adds a personal touch to your DIY Christmas tree and allows you to showcase your creativity.
1. Choose your materials: Consider using various materials such as felt, paper, wood, or fabric, depending on your preference and the style you want to achieve.
2. Select a design: Decide on the type of ornament you want to make, whether it’s a classic shape like a star or a more unique design like a sock snowman. Look for templates or patterns online to guide you.
3. Gather your tools: Make sure you have the necessary tools such as scissors, glue, paint, brushes, and any other specific materials required for your chosen design.
By creating your own ornaments, you can customize your tree to match your personal style and create lasting memories with your loved ones.
 Decorating Your Christmas Tree Like A Pro
Now that you have created your own homemade ornaments, it’s time to take your Christmas tree decorating skills to the next level. In this section, we will explore different tips and techniques to help you decorate your tree like a pro.
1. Start with a theme: Before you begin decorating, decide on a theme for your tree. This will guide your choice of colors, ornaments, and overall style. Whether it’s a traditional theme with red and green ornaments or a modern theme with metallic accents, having a clear vision will make the decorating process easier.
2. Fluff and shape the branches: Before hanging any ornaments, take the time to fluff and shape the branches of your tree. This will give it a fuller and more natural look.
3. Hang lights strategically: Start by hanging the lights on your tree. Begin at the base and work your way up, wrapping the lights around the branches in a spiral motion. Make sure to distribute them evenly and avoid leaving any gaps.
4. Add garlands and ribbons: Once the lights are in place, add garlands and ribbons to your tree. These can be traditional garlands made of beads or popcorn, or you can get creative with ribbons in various colors and textures. Drape them around the tree, starting from the top and working your way down.
5. Hang the ornaments: Finally, it’s time to hang your homemade ornaments and any other decorative ornaments you have. Begin with larger ornaments and place them evenly around the tree. Then, fill in the gaps with smaller ornaments, distributing them in a balanced manner.
6. Top it off: Complete your tree by adding a tree topper. This can be a star, an angel, or any other decorative piece that represents the finishing touch to your tree.
By following these tips and techniques, you can create a beautifully decorated DIY Christmas tree that will be the centerpiece of your holiday celebrations.
 DIY Wreaths And Garlands: A Festive Touch For Any Home
In this next section, we will explore the art of DIY Christmas wreaths and garlands. These festive decorations are a perfect way to add a touch of holiday cheer to any home.
1. Choosing your materials: When it comes to making wreaths and garlands, the possibilities are endless. You can use traditional materials like evergreen branches, pinecones, and berries, or get creative with non-traditional options like ribbon, ornaments, or even recycled items. Choose materials that match your overall theme and personal style.
2. Creating the base: Start by creating a sturdy base for your wreath or garland. This can be made from a wire frame, a foam ring, or even a simple branch. Use floral wire or hot glue to secure your materials to the base, ensuring they are tightly attached.
3. Adding embellishments: Once you have your base in place, it’s time to add your chosen decorations. Get creative with bows, ornaments, and other festive accents. Consider incorporating elements that reflect your personal style and taste.
4. Hanging and displaying: When it comes to displaying your DIY wreaths and garlands, the possibilities are endless. Hang your wreath on your front door, above the fireplace, or even as a centerpiece on your dining table. For garlands, drape them along staircases, windows, or mantels for an extra touch of holiday magic.
By following these steps, you can create beautiful and unique DIY wreaths and garlands that will add a festive touch to your home this holiday season.

Displaying your DIY creations:
Now that you have successfully created your DIY wreaths and garlands, it’s time to showcase them throughout your home. The way you display your homemade decorations can greatly enhance the festive atmosphere and bring joy to all who enter your space. Here are some tips for displaying your DIY creations:
1. Front door: Hang your wreath on your front door to welcome guests with holiday cheer. Ensure it is securely attached and use a festive ribbon or bow to add a finishing touch.
2. Fireplace mantel: The mantel is a prime spot for showcasing your DIY garlands. Drape them along the mantel, incorporating fairy lights or ornaments for added sparkle.
3. Staircase: Cascading garlands along your staircase can create a stunning visual display. Secure them with hooks or opt for using wire to attach the garland along the railing.
4. Windows: Adorn your windows with wreaths or attach garlands along the window frames for a charming and festive look.
5. Dining table centerpiece: Use a wreath or create a mini garland as a centerpiece for your dining table. Pair it with candlesticks or a centerpiece bowl filled with ornaments for an elegant touch.
Remember that creativity knows no bounds when it comes to displaying your DIY Christmas decorations. Experiment with various locations in your home and don’t be afraid to think outside the box. The goal is to spread holiday cheer and create a warm and inviting atmosphere for all to enjoy.
Creating Cherished Memories With DIY Christmas Decorations
The art of DIY Christmas decorations goes beyond just the physical act of crafting. It is about creating cherished memories and adding a personal touch to your holiday celebrations. As you display your homemade wreaths and garlands throughout your home, remember to take a step back and appreciate the joy they bring to your space. Upper Ivy Apartments is the ideal place to get creative with holiday decorations. Residents could start a DIY decorating club to make ornaments and displays together, surprise neighbors with small gifts spread some seasonal cheer, or even host a holiday decoration contest to bring some festive spirit to the community.
Whether you choose to hang your wreath on the front door, drape garlands along the fireplace mantel, or cascade them down your staircase, each location adds its own unique charm. Don’t forget to adorn your windows with wreaths or garlands for an extra festive touch. And when it comes to the dining table centerpiece, let your creativity shine by using a wreath or mini garland paired with elegant candlesticks or a centerpiece bowl filled with ornaments.


